 Pyro
Pyro
 Polearm
Thoma
Protector From Afar
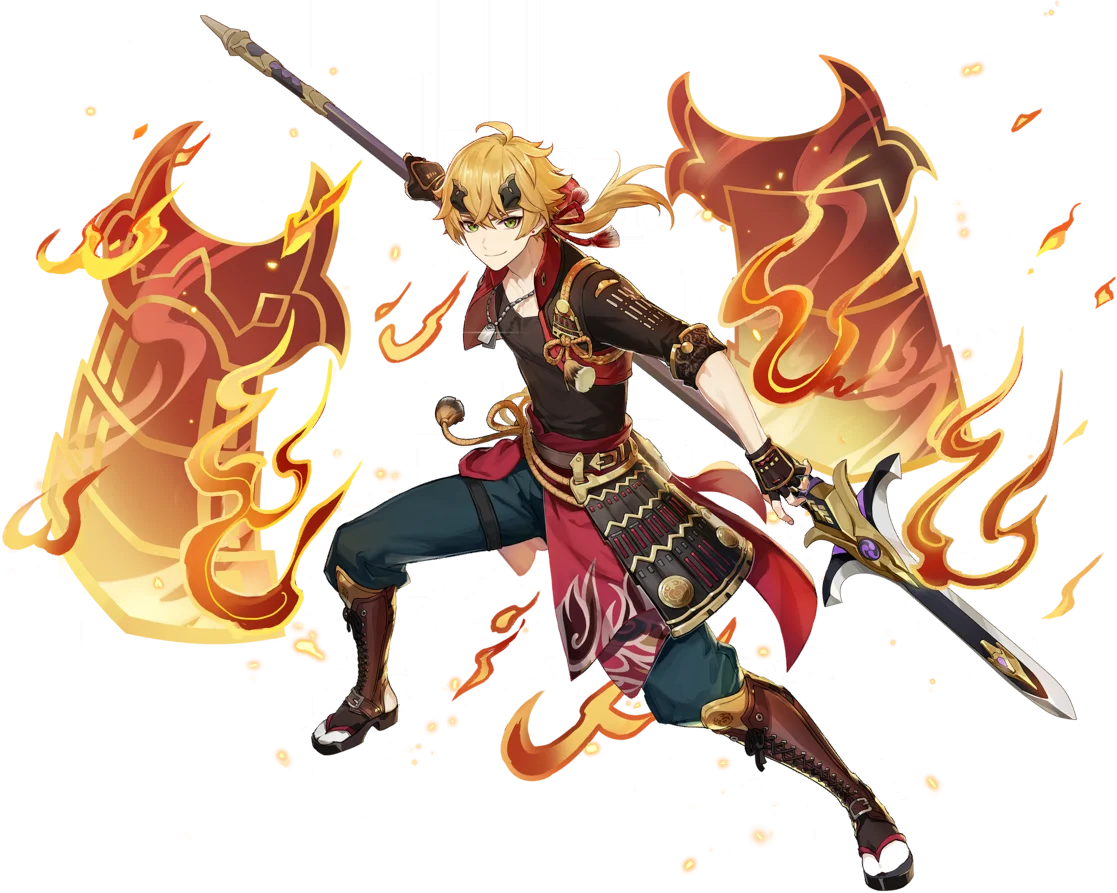
The Kamisato Clan's housekeeper is a Pyro shielder whose Burst makes the active character's Normal Attacks trigger Fiery Collapses. That off-field Pyro makes him an excellent Burgeon trigger, and his stacking Blazing Barriers protect Normal Attack carries. A budget-friendly 4-star who is still useful in 7.1.
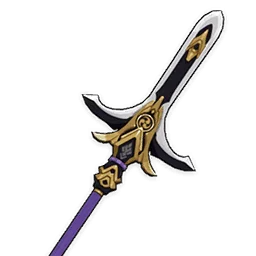
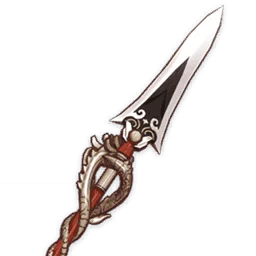
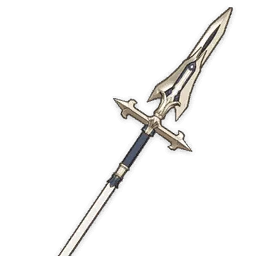
Weapons

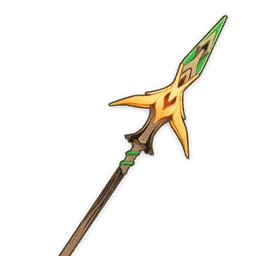
Artifacts

Set effects

Set effects
Set effects
Main stats
Substat priority
Stat targets
- Energy Recharge about 210–240% as the only Pyro with R3 Kitain (165–190% at C4+)
- Then as much Elemental Mastery as possible
- Character level 90: it raises Burgeon DMG by about 30%
Talent priority
Burgeon damage depends on character level and EM only, so talent levels mostly help his shield. Keep his Burst up at all times: it is his only Pyro source during your carry's field time.
Weapons
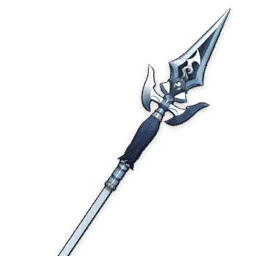

Artifacts

Set effects


Set effects
Main stats
Substat priority
Stat targets
- Energy Recharge about 210–220% at C0–C3 in double Pyro teams, 170–175% at C4+
- Then HP%
- CRIT Rate only with Favonius Lance
Talent priority
Skill and Burst levels both raise shield absorption. Best with Normal Attack carries that appreciate interruption protection, such as Hu Tao or Arlecchino.
Recommended teams
Kokomi Burgeon




Kokomi's Normal Attacks keep triggering Fiery Collapses on Dendro cores, while Nahida and the Dendro Traveler create them.
Arlecchino Overloaded



Game8's pick: Thoma shields Arlecchino and adds Pyro to Chevreuse's Overloaded team.



How to play
How he works
- Blazing Blessing (Skill) deals AoE Pyro DMG and grants a Blazing Barrier scaling with his Max HP, 250% effective against Pyro. New barriers stack their remaining absorption and refresh the duration, up to a cap.
- Crimson Ooyoroi (Burst, 80 Energy) creates the Scorching Ooyoroi: while it lasts, the active character's Normal Attacks trigger a Fiery Collapse (once per second) that deals AoE Pyro DMG and refreshes the Blazing Barrier. Flaming Assault adds 2.2% of his Max HP to Fiery Collapse DMG.
- Imbricated Armor: each barrier gained or refreshed gives +5% Shield Strength (up to 5 stacks).
- Burgeon is a transformative reaction: it scales with the triggering character's level and Elemental Mastery, not with his HP. Burgeon also damages your own party a little; his shield absorbs it.
Rotation
- Q first (especially with Kitain Cross Spear), then E.
- Swap to a character who uses Normal Attacks: each hit triggers a Fiery Collapse and keeps the shield up.
His Burst only works if the active character uses Normal Attacks. With a Skill-based carry, choose another Pyro trigger.
Strengths
- Great off-field Pyro trigger for Burgeon, where his level and EM do the damage
- Near-permanent, stacking shield with high uptime
- Cheap 4-star with free-to-play weapons
- C6 gives the party +15% Normal, Charged and Plunging Attack DMG
Weaknesses
- Very high Energy needs before C4
- His Burst relies on the active character's Normal Attacks
- Low personal damage outside Burgeon
- His shield brings no offensive buff before C6
Notable dupes · Constellation
+3s Scorching Ooyoroi duration (18s on a 20s cooldown): near-permanent shield and Pyro uptime.
Restores 15 Energy after his Burst: his best constellation, it greatly lowers his ER needs.
+15% Normal, Charged and Plunging Attack DMG for the party whenever a barrier is gained or refreshed.
Player builds for Thoma
No shared builds yet. Be the first!
No screenshot? Create a gorgeous build card with our tool.