 Anemo
Anemo
 Catalyst
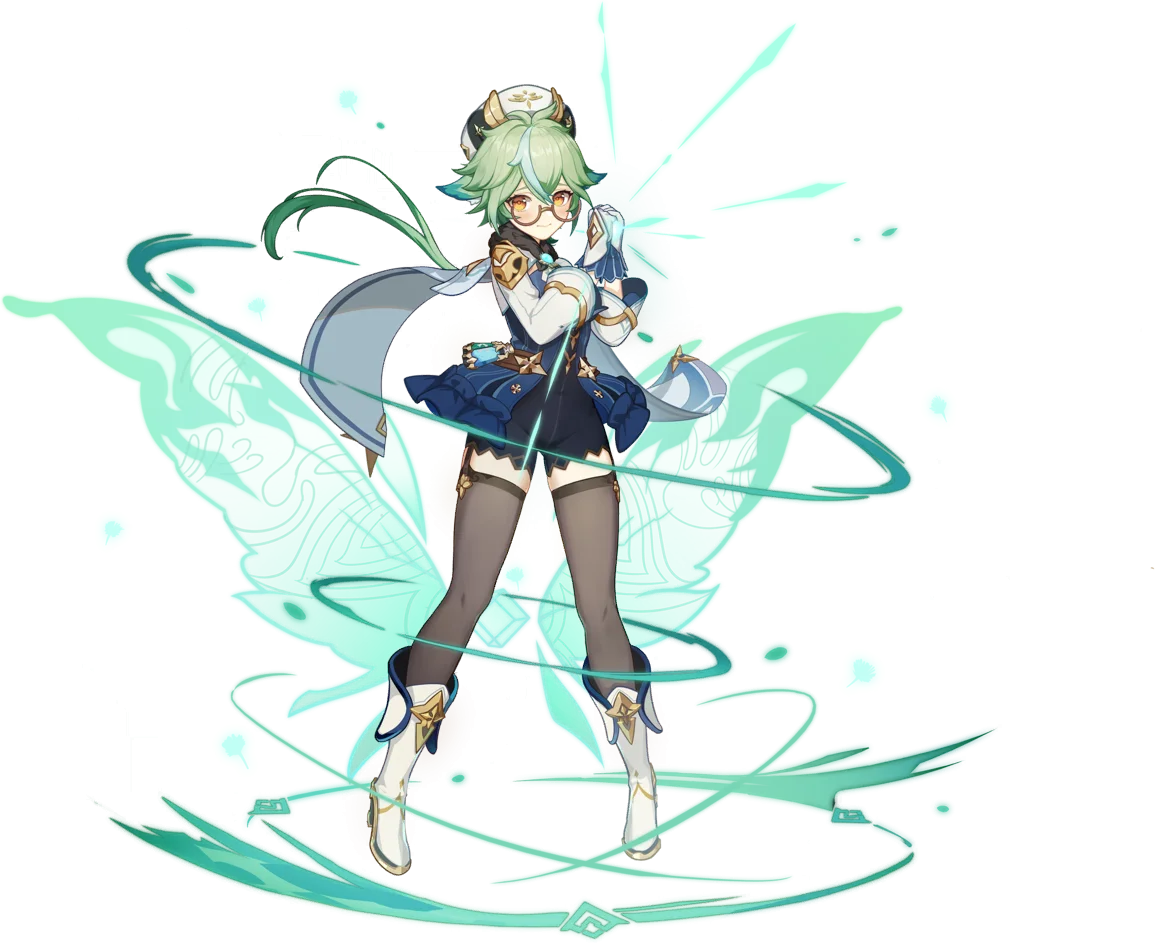
Sucrose
Harmless Sweetie
Albedo's shy assistant is still one of the best supports in Genshin Impact, six years after release. She groups enemies, shreds RES with Viridescent Venerer and shares 20% of her Elemental Mastery with the party, which makes her a top pick for today's Lunar reaction teams. As a Hexerei character she also enables Mona, Fischl, Venti or Razor's Secret Rite bonuses.
Elemental Mastery support
Weapons





Artifacts

Set effects

Set effects

Set effects
Main stats
Substat priority
Stat targets
- Elemental Mastery 800+ (the more the better, up to 1,600 for the maximum Moonsign buff)
- Energy Recharge: no target if you skip her Burst; about 160–180% when you need it (usually every other rotation, given its 20s cooldown and 80 Energy cost)
- CRIT Rate only with Favonius Codex
Talent priority
Talent levels barely matter: her buffs come from passives and her Elemental Mastery. Level her to 90 first, then give her Skill a few levels if you have spare books. An ER% sands is only worth it if she cannot reach her Energy target otherwise.
Recommended teams
Flins Lunar-Charged




Prydwen's premium Flins team: Sucrose groups, shreds Electro RES and raises Lunar-Charged DMG with her Elemental Mastery.
Nefer Lunar-Bloom


Run Instructor here: the team scales heavily with Elemental Mastery, and Sucrose can swirl Columbina's Hydro to trigger it.
Arlecchino Hexerei Vaporize



Sucrose and Mona activate Secret Rite, which unlocks Mona's big team-wide DMG and Vaporize buffs.
How to play
How she works
- Astable Anemohypostasis Creation - 6308 (Skill) creates a Small Wind Spirit that pulls enemies in and deals Anemo DMG (15s CD).
- Forbidden Creation - Isomer 75 / Type II (Burst, 80 Energy) creates a Large Wind Spirit for 6s that keeps grouping enemies and absorbs Hydro, Pyro, Cryo or Electro.
- Catalyst Conversion: Swirls and Stellar Swirls she triggers give +50 EM for 8s to teammates of the swirled element.
- Mollis Favonius: when her Skill or Burst hits, the rest of the party gains 20% of her Elemental Mastery for 8s.
- Moonsign: Ascendant Gleam: in a party with two Moonsign characters, casting her Skill or Burst raises the party's Lunar reaction DMG by 2.25% per 100 EM, up to 36% at 1,600 EM.
- Hexerei (Witch's Homework Of Wonderland Flowers, Lv. 70+): with a second Hexerei character, her Small Wind Spirit gives the party about +5.7% DMG for 15s, and her Large Wind Spirit about +7.1% to Hexerei teammates for 20s.
Rotation
- Set up the rest of the team (Hydro/Electro/Pyro/Cryo applier first, so she has something to swirl).
- Swap to Sucrose, E (dash-cancel it), add Q when it is available and useful for grouping.
- Swap to your carry: the EM share and Viridescent shred last 8s and 10s, so she usually goes right before the main DPS.
With Thrilling Tales of Dragon Slayers, always make her the last character before your carry so they receive the +48% ATK.
Strengths
- Huge team-wide Elemental Mastery buff and 40% RES shred with Viridescent Venerer
- Excellent Lunar support: her EM boosts the whole party's Lunar reaction DMG
- Complete at C0 with cheap gear, and a free 4-star
- Hexerei character: enables Mona, Fischl, Venti, Razor and co.
Weaknesses
- Short 8s buffs: she has to act right before your carry
- Her Burst knocks enemies around and can absorb the wrong element
- Very low personal damage
- Viridescent does nothing when the main damage is Dendro or Geo
Notable dupes · Constellation
A second Skill charge: more particles, more flexible rotations. Her best constellation.
+2s on her Burst, occasionally useful for reaction setups.
Skill CD reduction from Normal Attacks: only matters when she stays on the field.
+20% DMG for the absorbed element (+8.6% more for Hexerei teammates), but her Burst rarely absorbs your carry's element reliably.
Player builds for Sucrose
No shared builds yet. Be the first!
No screenshot? Create a gorgeous build card with our tool.
Sources & references
- https://www.prydwen.gg/genshin-impact/tier-list
- https://www.prydwen.gg/genshin-impact/characters/sucrose
- https://game8.co/games/Genshin-Impact/archives/297465
- https://game8.co/games/Genshin-Impact/archives/297525
- https://keqingmains.com/q/sucrose-quickguide/
- https://genshin-impact.fandom.com/wiki/Team_Bonus
- https://gi.yatta.moe/api/v2/en/avatar/10000043
- https://gi.yatta.moe/api/v2/fr/avatar/10000043