 Anemo
Anemo
 Claymore
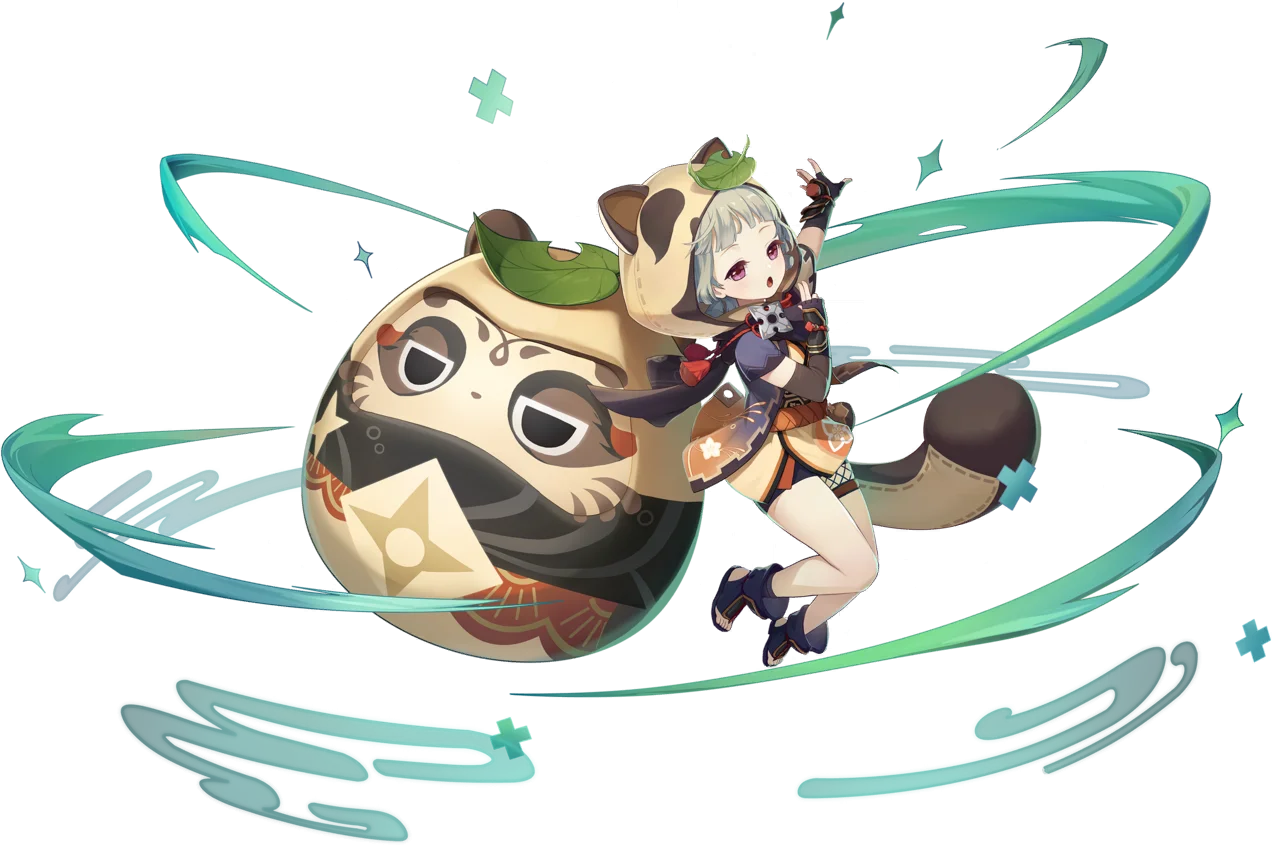
Sayu
Mujina Ninja
The sleepy Shuumatsuban ninja is an Anemo healer and Swirl support: her Burst heals the party and summons the Muji-Muji Daruma, while her Skill rolls her through enemies to Swirl elements. She lacks the power of top Anemo supports, but she is cheap, heals, carries Viridescent Venerer and is unbeatable for exploring.
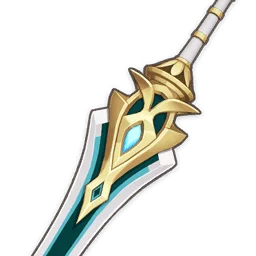
Weapons

Artifacts

Set effects

Set effects
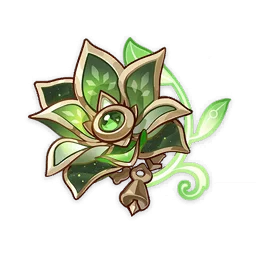
Set effects
Main stats
Substat priority
Stat targets
- Energy Recharge 200%+ to Burst every rotation off-field, 150–170% every other rotation (C4 and a second Anemo lower this)
- Then ATK% for healing (EM too from C6)
Talent priority
Level her to 90: most of her damage comes from Swirls, which scale with character level. Her Normal Attack talent is not worth leveling.
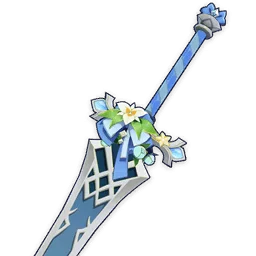
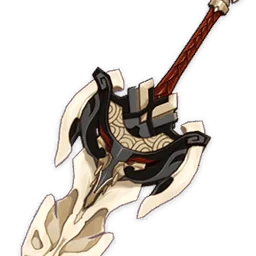
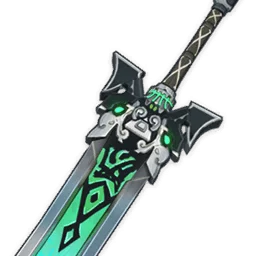
Weapons
Artifacts
Set effects

Set effects
Main stats
Substat priority
Stat targets
- Energy Recharge 160–180% to Burst every rotation on-field, 120–140% every other rotation
- Elemental Mastery as high as possible for Swirl damage and A1 healing
Talent priority
Use hold E and steer the roll through groups: each element she absorbs adds extra damage and each Swirl heals the party through her A1.
Recommended teams
Mono Pyro


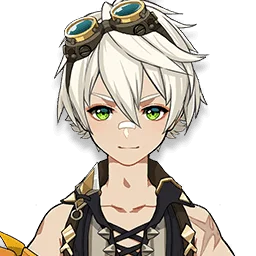

Sayu heals and shreds Pyro RES with VV, letting Kazuha focus on his DMG% buff.
Hyperbloom


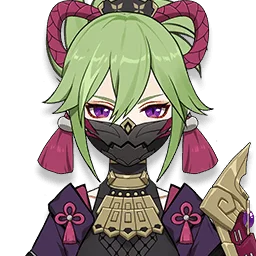
Very comfortable: Sayu and Kokomi heal while Kuki triggers Hyperbloom from off-field.



How to play
How she works
- Yoohoo Art: Fuuin Dash (Skill): tap rolls a short distance and ends in a Fuufuu Whirlwind Kick; hold keeps her rolling for up to 10s with higher interruption resistance, absorbing Hydro, Pyro, Cryo or Electro for extra elemental damage. The longer she rolls, the longer the cooldown.
- Yoohoo Art: Mujina Flurry (Burst, 80 Energy) deals Anemo DMG, heals the party based on her ATK and summons the Muji-Muji Daruma: it attacks enemies when your HP is above 70%, and heals the active character with the lowest HP otherwise.
- Someone More Capable (A1): triggering a Swirl or Stellar Swirl while on-field heals the party for 300 HP + 1.2 HP per point of EM (once every 2s).
- No Work Today! (A4): the Daruma's healing also splashes 20% to nearby characters, and its attacks hit a wider area.
Rotation
- Off-field healer: Q (and a tap E for particles), then swap to your DPS.
- On-field Swirl driver: Q, then hold E and roll through enemies to Swirl the elements your off-field teammates apply.
Before C1, the Daruma either heals or attacks, never both. At C6 its damage and healing scale with her EM.
Strengths
- Healing and Viridescent Venerer shred in one 4-star slot
- Very fast exploration with her rolling Skill
- Her A1 and C4 also work with Stellar Swirl
- Cheap to build and to constellate
Weaknesses
- Weak endgame impact next to Sucrose, Kazuha or the newer Anemo supports
- 80-Energy Burst: high Energy Recharge needs
- Split ATK/EM scaling before C6, and the Daruma cannot heal and attack together before C1
Notable dupes · Constellation
The Daruma ignores HP thresholds and heals while attacking: her most important constellation.
Restores 1.2 Energy on each on-field Swirl or Stellar Swirl (once every 2s): lowers ER needs.
The Daruma's damage and healing scale with her EM (up to 400% ATK and 6,000 HP): her second-best constellation.
Player builds for Sayu
No shared builds yet. Be the first!
No screenshot? Create a gorgeous build card with our tool.
Sources & references
- https://www.prydwen.gg/genshin-impact/tier-list
- https://www.prydwen.gg/genshin-impact/characters/sayu
- https://game8.co/games/Genshin-Impact/archives/297465
- https://game8.co/games/Genshin-Impact/archives/333496
- https://keqingmains.com/q/sayu-quickguide/
- https://gi.yatta.moe/api/v2/en/avatar/10000053
- https://gi.yatta.moe/api/v2/fr/avatar/10000053