 Electro
 Sword
Sword
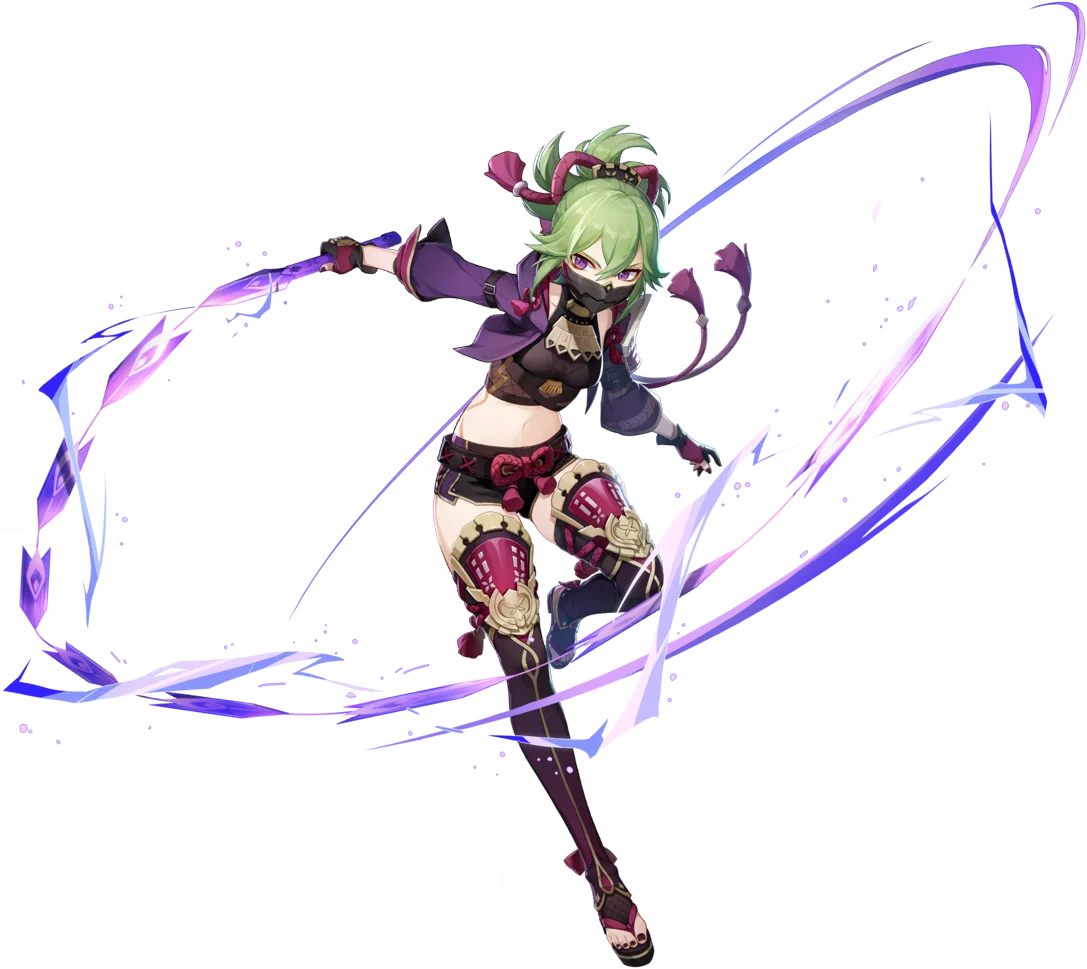
Kuki Shinobu
Mender of Tribulations
The Arataki Gang's deputy leader is one of the best-value 4-stars in the game. A single press of her Skill creates a Grass Ring of Sanctification that follows the active character, healing them and applying Electro every 1.5s. Built with Elemental Mastery she is a top Hyperbloom trigger, and in 7.1 she is also a handy sustain for Lunar-Bloom teams.
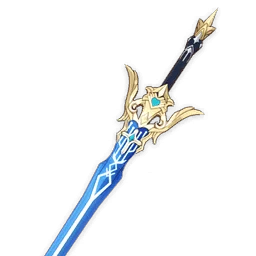
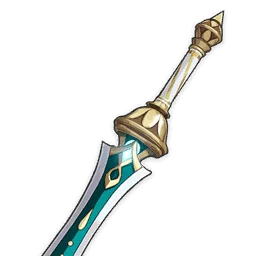
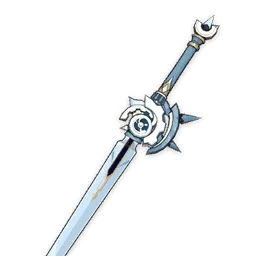
Weapons
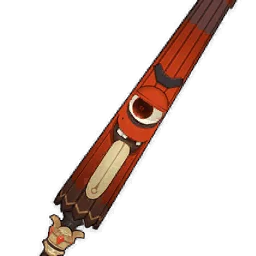
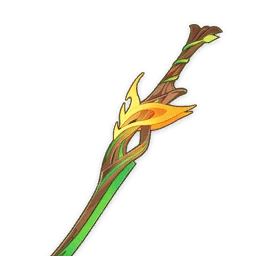
Artifacts

Set effects

Set effects

Set effects
Main stats
Substat priority
Stat targets
- Elemental Mastery 800–1,000+
- Energy Recharge 100% if you skip her Burst, 130–170% to use it every rotation (C0)
Talent priority
Level her to 90: Hyperbloom damage scales with character level. Her ring does most of her work, so the Skill talent comes first.
Weapons
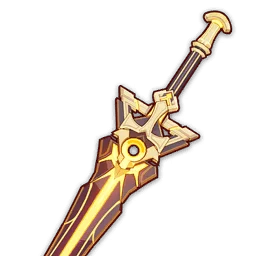
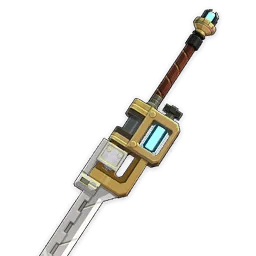
Artifacts

Set effects

Set effects

Set effects
Main stats
Substat priority
Stat targets
- HP 25,000–30,000+
- Some Elemental Mastery adds 75% of itself to each heal
- Energy Recharge only if you need her Burst
Talent priority
In Nefer's Lunar-Bloom team, Prydwen has her build ATK instead: at Moonsign: Ascendant Gleam, an Electro non-Moonsign character boosts the party's Lunar Reaction DMG by 0.9% per 100 ATK.
Recommended teams
Lauma Hyperbloom
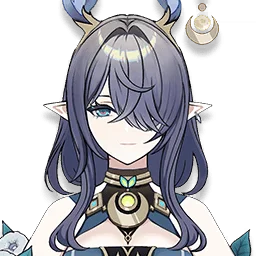
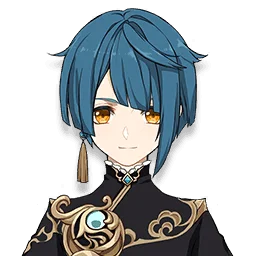

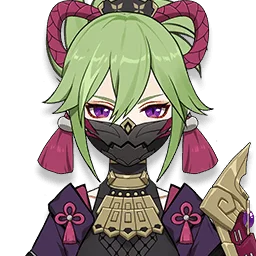
Lauma lets Hyperbloom CRIT and adds her Pale Hymn bonus, Xingqiu and Yelan make the cores, and Kuki triggers them while healing.
Nahida Hyperbloom

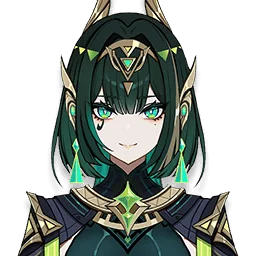
The classic version: Nahida provides Dendro and EM, and Kuki is the healer and Electro trigger.

How to play
How she works
- Sanctifying Ring (Skill, 15s cooldown) costs 30% of her current HP (never below 20%) and summons a Grass Ring of Sanctification for 12s. It follows the active character, deals Electro DMG to nearby enemies and heals the active character every 1.5s.
- Heart's Repose (A4): the ring's healing gains 75% of her Elemental Mastery and its damage gains 25%. With high EM, the ring both heals and triggers Hyperbloom very well.
- Breaking Free (A1): +15% Healing Bonus while she is at 50% HP or less.
- Gyoei Narukami Kariyama Rite (Burst, 60 Energy) creates an HP-scaling Electro field; it lasts longer if she is at 50% HP or less. It is optional in most teams.
Rotation
- E (add Q if you have the Energy).
- Swap to your carry: the ring follows them for the whole rotation.
- Recast E every 15s. At C2, the ring lasts 15s for full uptime.
Her HP drops with every Skill: that is intended, and it enables her low-HP bonuses and C6 EM.
Strengths
- Healing and off-field Electro from one short Skill
- One of the best Hyperbloom triggers, at 4-star cost
- Very flexible: Hyperbloom, Aggravate, Lunar-Bloom sustain
- C6 is easy to reach and adds survival and 150 EM
Weaknesses
- Her Electro application can disrupt Freeze or Vaporize teams
- The Skill drains her own HP
- 12s ring before C2 leaves a small gap in 15s rotations
- Healing is single-target (active character only)
Notable dupes · Constellation
+3s ring duration: full uptime on a 15s cooldown.
Extra Electro hit on the active character's attacks, once every 5s.
Survives a lethal hit once every 60s and gains 150 EM for 15s below 25% HP: the standard for Hyperbloom calculations.
Player builds for Kuki Shinobu
No shared builds yet. Be the first!
No screenshot? Create a gorgeous build card with our tool.
Sources & references
- https://www.prydwen.gg/genshin-impact/tier-list
- https://www.prydwen.gg/genshin-impact/characters/lauma
- https://www.prydwen.gg/genshin-impact/characters/nefer
- https://game8.co/games/Genshin-Impact/archives/346199
- https://game8.co/games/Genshin-Impact/archives/297465
- https://keqingmains.com/q/shinobu-quickguide/
- https://genshin-impact.fandom.com/wiki/Moonsign
- https://gi.yatta.moe/api/v2/en/avatar/10000065
- https://gi.yatta.moe/api/v2/fr/avatar/10000065