 Electro
 Polearm
Raiden Shogun
Plane of Euthymia
The Electro Archon is a Burst-based on-field DPS whose damage grows with the Energy her teammates spend and with her own Energy Recharge, while she refunds Energy to the whole party. No longer the queen of the meta, she has found a second wind in Overloaded teams with the Hexerei supports Durin and Nicole, and works as a battery for Columbina and Ineffa in Lunar-Charged teams.

Weapons
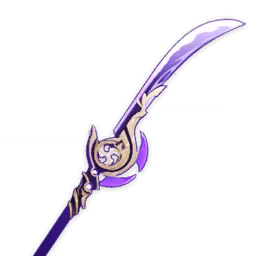
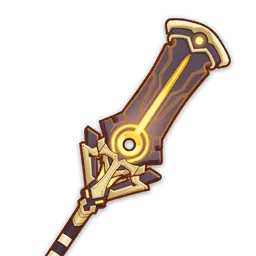
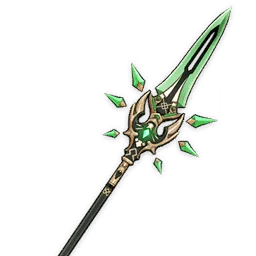


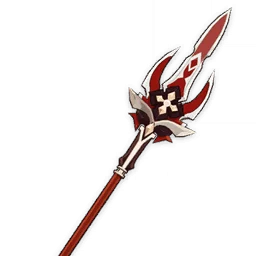
Artifacts

Set effects

Set effects

Set effects
Main stats
Substat priority
Stat targets
- Energy Recharge 200–220% as the only Electro unit, 130–190% with another Electro teammate (up to 250–300% is still useful)
- CRIT Rate 55–70% and CRIT DMG 120%+ once ER is covered
- The ER-to-ATK conversion of Engulfing Lightning means extra ER is never wasted
Talent priority
Her Normal Attack talent is useless: Musou Isshin's multipliers live in her Burst talent. Level the Skill to about 9 for its Burst DMG bonus.
Weapons
Artifacts

Set effects

Set effects
Set effects
Main stats
Substat priority
Stat targets
- Energy Recharge 150–200%: her real job is to refill Columbina's and Ineffa's Bursts
- Some Elemental Mastery and CRIT: Lunar-Charged uses the stats of every character who applied the elements
Talent priority
Lunar-Charged replaces Electro-Charged when Columbina, Ineffa or Flins is in the party. It can CRIT, scales with Elemental Mastery and ignores DMG% bonuses, which is why this build drops Electro DMG for EM and CRIT.
Recommended teams
Hexerei Overloaded




Her best carry team in 7.1: Durin brings big off-field damage and an 18s Burst cycle, Nicole buffs ATK, Chevreuse shreds Pyro and Electro RES. Fischl or Yae Miko can replace Chevreuse.
Lunar-Charged battery



Raiden's Energy refund lets Columbina and Ineffa Burst every rotation with little ER; Sucrose shares EM (Xilonen also works).



How to play
How she works
- Transcendence: Baleful Omen (Skill) deals Electro DMG and gives the party the Eye of Stormy Judgment for 25s: the active character's hits trigger Electro coordinated attacks (once every 0.9s), and every character's Burst DMG is increased based on that Burst's Energy cost.
- Chakra Desiderata: each time a teammate uses their Burst, Raiden gains Resolve based on the Energy spent (up to 60 stacks). Her A1 passive adds 2 Resolve whenever a teammate picks up a particle or orb (once every 3s).
- Secret Art: Musou Shinsetsu (Burst, 90 Energy, 18s cooldown) consumes all Resolve for a huge Musou no Hitotachi slash, then enters Musou Isshin for about 7s: her Normal, Charged and Plunging Attacks deal Electro DMG counted as Burst DMG and restore Energy to the whole party (up to 5 times).
- Enlightened One (A4): every 1% Energy Recharge above 100% gives her 0.4% Electro DMG Bonus and boosts the Energy she restores. Energy Recharge is her best stat.
Rotation
- E first, so the whole team benefits from the Burst DMG bonus.
- Cast your supports' Skills and Bursts: every Burst feeds her Resolve.
- Swap to Raiden, Q, then a combo such as 3× (N3 + Charged Attack) + N1 + Charged Attack (or 4× N4 to shorten the rotation).
- Swap out: the Energy she refunded lets your supports Burst again right away.
In Lunar-Charged teams, her personal damage matters little: open with E, then Columbina, Ineffa and Sucrose, then Raiden's Burst. Feel free to cut her field time short to keep Sucrose's buff up.
Strengths
- Refunds 20–25 Energy (up to about 30 with Engulfing Lightning) to the whole party every Burst
- Very flexible main stats: ER or ATK% sands, Electro or ATK% goblet, as long as ER is covered
- Two relevant roles in 7.1: Overloaded carry with Durin, and Lunar-Charged enabler for Columbina and Ineffa
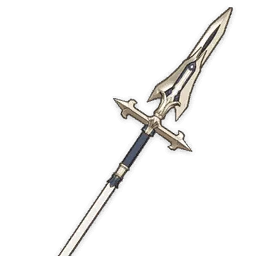
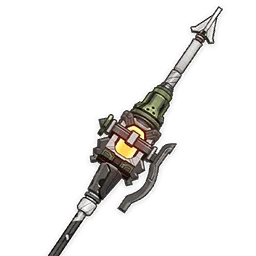
- Excellent free options: "The Catch" is competitive with most 5-star polearms
Weaknesses
- Her 90-Energy Burst makes the first rotation hard to start in the toughest endgame content
- Needs C2 (60% DEF ignore) to keep up with the current power curve as a carry
- Her classic hypercarry and National teams have fallen far behind
Notable dupes · Constellation
Faster Resolve gain: rarely more than a 2–5% team DPS gain.
Musou Isshin ignores 60% DEF, about +35% personal damage: nearly essential for her carry teams.
+3 Burst levels, roughly +16% personal damage since almost all her damage is Burst DMG.
Player builds for Raiden Shogun
No shared builds yet. Be the first!
No screenshot? Create a gorgeous build card with our tool.
Sources & references
- https://www.prydwen.gg/genshin-impact/tier-list
- https://www.prydwen.gg/genshin-impact/characters/raiden-shogun
- https://game8.co/games/Genshin-Impact/archives/297465
- https://game8.co/games/Genshin-Impact/archives/337161
- https://mobalytics.gg/genshin-impact/characters/raiden-shogun-build-guide
- https://keqingmains.com/q/raiden-quickguide/
- https://keqingmains.com/q/columbina-quickguide/
- https://game8.co/games/Genshin-Impact/archives/538086
- https://gi.yatta.moe/api/v2/en/avatar/10000052
- https://gi.yatta.moe/api/v2/fr/avatar/10000052