 Anemo
Anemo
 Bow
Bow
Jahoda
Windthreading Shadow
A former treasure hunter from Nod-Krai, Jahoda is a 4-star Anemo healer built for Moonsign teams. She raises the party's Moonsign level, heals with her cat robots and, under Ascendant Gleam, stores an enemy's element in her Treasure Flask to rain elemental Meowballs off-field. At C6 she also grants a big CRIT buff to every Moonsign character.

Moonsign healer
Weapons

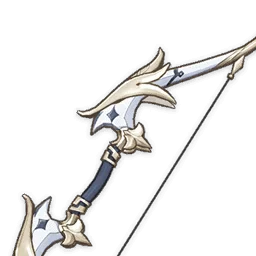
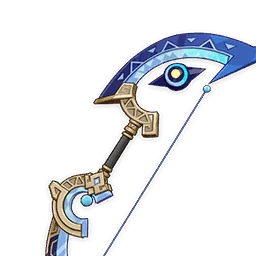
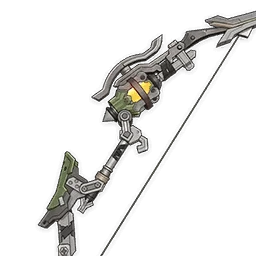

Artifacts

Set effects

Set effects

Set effects

Set effects
Main stats
Substat priority
Stat targets
- Energy Recharge at C0 with Favonius Warbow: 200–255% in most teams, 190–205% with two Electro units, 145–180% with a second Anemo unit (other bows need roughly 20–75% more)
- C4 greatly lowers these requirements
- ATK 1,800+ for healing and damage
- CRIT Rate 40%+ only with Favonius Warbow
Talent priority
Her Burst level raises healing, so it comes first; her personal damage is not the point. A Healing Bonus circlet is fine unless you need CRIT Rate for Favonius.
Recommended teams
Flins Lunar-Charged




Jahoda absorbs Hydro and helps Mona keep the aura up for Lunar-Charged, while healing Flins.
Ineffa Overvape


Mona keeps Hydro up for both Ineffa's Lunar-Charged and Durin's Vaporizes, while Jahoda heals and adds Meowballs of whichever element her Flask captures (Pyro takes priority when enemies carry it).



How to play
How she works
- Savvy Strategy: Splitting the Spoils (Skill) dashes into an enemy and enters Shadow Pursuit. If nearby enemies are affected by Pyro, Hydro, Electro or Cryo (in that priority), her Purr-loined Treasure Flask takes that element and fills up.
- Without Ascendant Gleam, a full Flask simply discharges for Anemo DMG. Under Moonsign: Ascendant Gleam, she keeps it and periodically fires Fluffy Meowballs of the stored element at nearby enemies, even off-field, regaining 2 Energy on hit (once every 3.5s).
- Hidden Aces: Seven Tools of the Hunter (Burst, 70 Energy) deploys 2 Purrsonal Coordinated Assistance Robots for 12s that heal the active character (and the lowest-HP teammate once the active one is above 70% HP). Under Ascendant Gleam they also take an element and attack up to 3 enemies.
- Plan to Get Paid buffs the robots based on the most common Pyro/Hydro/Electro/Cryo element in the team (Pyro: +30% DMG, Hydro: +20% healing, Electro: a third robot, Cryo: 10% faster attacks). Sweet Berry Bounty gives +100 EM for 6s to a healed active character above 70% HP.
Rotation
- E, move around enemies until the Flask is full, then Q to catch the particles.
- If field time is tight, use E → E → Q instead (recasting drains the Flask early).
- Swap to your main DPS.
She only applies elements off-field in Ascendant Gleam teams: always pair her with at least one other Moonsign character.
Strengths
- Solid healing from a 4-star, with an EM buff for the active character
- Off-field Pyro, Hydro, Electro or Cryo application under Ascendant Gleam
- Raises the party's Moonsign level: an easy way to reach Ascendant Gleam
- C6 gives every Moonsign character +5% CRIT Rate and +40% CRIT DMG
Weaknesses
- Needs noticeable field time to fill her Flask
- Her off-field application requires Ascendant Gleam
- Long Skill cooldown makes Viridescent Venerer uptime unreliable
- High Energy Recharge needs before C4, and needs C6 to rival other Anemo supports
Notable dupes · Constellation
Meowballs have a 50% chance to bounce: a little more damage and application.
Plan to Get Paid tracks a second element under Ascendant Gleam, so two robot buffs can be active.
4 Energy each time a robot converts to an element: a big cut to her Energy Recharge needs.
+5% CRIT Rate and +40% CRIT DMG for Moonsign characters for 20s after the Flask fills: what makes her competitive.
Player builds for Jahoda
No shared builds yet. Be the first!
No screenshot? Create a gorgeous build card with our tool.