 Pyro
Pyro
 Claymore
Dehya
Flame-Mane
The Flame-Mane of the Eremites protects her allies with Fiery Sanctum, a field that grants interruption resistance, absorbs part of the damage they take and adds slow off-field Pyro hits. Her Burst unleashes a flurry of flaming punches, but her on-field damage lags behind modern carries. Today she is mostly played as a comfortable off-field Pyro support, and she is one of the 5-stars you can pick from the standard selector.

Weapons



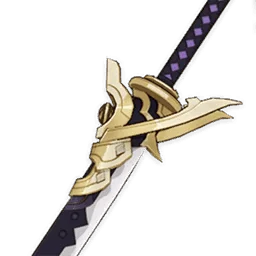
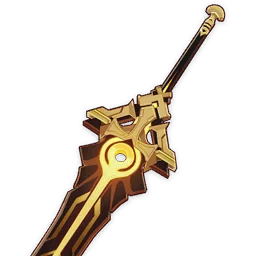
Artifacts

Set effects

Set effects

Set effects

Set effects
Main stats
Substat priority
Stat targets
- Full Elemental Mastery (sands, goblet and circlet) in Burgeon teams
- HP% for tankiness and field damage in other teams
- Some CRIT Rate if she holds Favonius Greatsword
Talent priority
As a support, only her Skill matters: don't invest in her Burst or Normal Attack.
Weapons

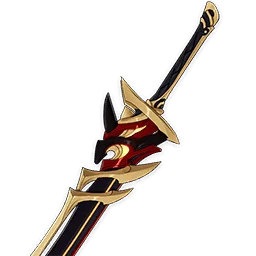

Artifacts
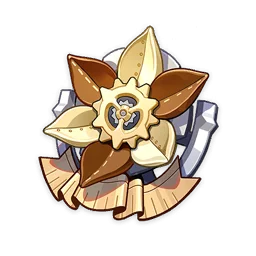
Set effects

Set effects

Set effects
Main stats
Substat priority
Stat targets
- Energy Recharge 160–210% in Furina Vaporize, 150–175% in Chevreuse Overloaded (C4 cuts this by about 40%)
- CRIT ratio 1:2
- Elemental Mastery only in Vaporize or Melt teams
Talent priority
Her on-field damage comes almost entirely from Leonine Bite: time your Normal Attack presses right after each punch to fit more of them in.
Recommended teams
Burgeon with Lauma




Support role (EM build): Furina and Kokomi create Dendro Cores with Lauma, and Dehya's field hits turn them into Burgeon from off-field. Lauma's Pale Hymn and RES shred boost the reaction; Lunar-Bloom still spawns normal Dendro Cores.
Dehya Vaporize


On-field role: Furina's Hydro and DMG buff, Bennett's ATK and healing, Kazuha's shred and Pyro DMG Bonus.


How to play
How she works
- Molten Inferno: Indomitable Flame (Skill, 20s CD) deals AoE Pyro DMG and creates a Fiery Sanctum for 12s. When an enemy inside takes DMG, the field adds a coordinated Pyro attack based on her ATK and Max HP (once every 2.5s).
- Characters in the field gain interruption resistance, and part of the damage they take is redirected into Redmane's Blood, which Dehya takes over 10s instead. Her first passive reduces that damage and grants the party Gold-Forged Form for even more interruption resistance.
- Pressing E again (Ranging Flame) makes her leap and moves the field once, keeping its remaining duration.
- Leonine Bite (Burst, 70 Energy): she enters Blazing Lioness and throws Flame-Mane's Fists automatically. Press Normal Attack (Roaring Barrage) right after each punch to speed them up (about 10 punches at C0), then she finishes with Incineration Drive.
Rotation
Support: E (Indomitable Flame) at the start of the rotation, then swap to your carry. Use Ranging Flame only if enemies leave the field.
On-field: E → supports → Q and mash Normal Attack in rhythm → supports → E.
Her Burst hits do not count as Normal Attacks, so they do not trigger Xingqiu's or Beidou's follow-up attacks.
Strengths
- Interruption resistance and damage mitigation for the active character
- Low-maintenance off-field Pyro that does not overwrite auras too often
- Free to obtain from the standard 5-star selector or the permanent banner
- Very tanky thanks to her self-healing passive
Weaknesses
- Low damage for a 5-star, both on and off the field
- Very slow Pyro application from the field (once every 2.5s)
- Her on-field Burst needs high Energy Recharge before C4
- Redmane's Blood can drain her HP if nobody heals her
Notable dupes · Constellation
+20% Max HP and extra HP-based damage on her Skill and Burst: the key constellation for on-field play.
+6s field duration after Ranging Flame, and stronger coordinated attacks when the active character is hit: best for support play.
Burst hits restore Energy and HP, sharply lowering her ER needs.
+10% Burst CRIT Rate, up to +60% Burst CRIT DMG and a longer Blazing Lioness.
Player builds for Dehya
No shared builds yet. Be the first!
No screenshot? Create a gorgeous build card with our tool.
Sources & references
- https://www.prydwen.gg/genshin-impact/tier-list
- https://www.prydwen.gg/genshin-impact/characters/dehya
- https://game8.co/games/Genshin-Impact/archives/297465
- https://game8.co/games/Genshin-Impact/archives/Dehya-Best-Builds
- https://keqingmains.com/q/dehya-quickguide/
- https://www.prydwen.gg/genshin-impact/characters/lauma
- https://gi.yatta.moe/api/v2/en/avatar/10000079
- https://gi.yatta.moe/api/v2/fr/avatar/10000079